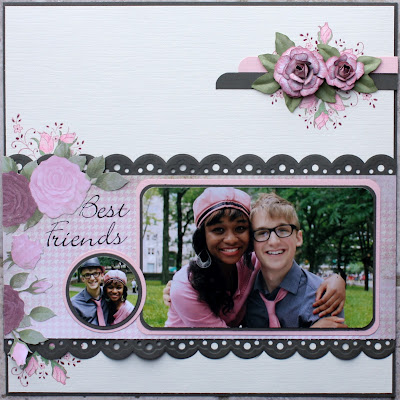
Well today I get to share my latest page with you... unfortunatle I used the sunflower stamp so you won't be seeing this one on the Heartfelt Creations blog but you should go by and see the other amazing projects that were posted this week. By the way Today's blog post includes inspiring projects, a family activity idea, and best of all, a sneak peek of the Chateau Gate Collection which is scheduled to release on January 10 at 12 Midnight EST. This collection is "magnificent" and the intricate detail in each of the designs is absolutely beautiful. This collection is very versatile and you will be able to create projects for the men in your life, invites, graduations, love, congrats and so many more! This collection features 9 PreCut Stamp Sets and one beautiful new exclusive Spellbinders die designed for Heartfelt Creations. I hope you grabbed yours while you could because I really love these flowers anyways here is what I can up with...
Blooming Love Layout
Heartfelt Creations Products
HCPC 2294 Aztec Gold Sunflowers 1 PreCut Set
HCPC 2293 Aztec Gold Sunflowers 2 PreCut Set
415223 Blossom 2
HCPC 3407 Botanical Floral 2 PreCut Set
472186 Rose Creations Shapeabilities
HCPC 3404 Wedding Sentiment PreCut Set
ZD2OZ Zip Dry Paper Glue 2OZ
Other products
Cardstock, pattern paper, trim, Momento Tuxedo Black ink & Martha Stewart pigment ink, tags & journaling spot, Say-it-in-crystals flourish, Prima resin, MS brown glitter
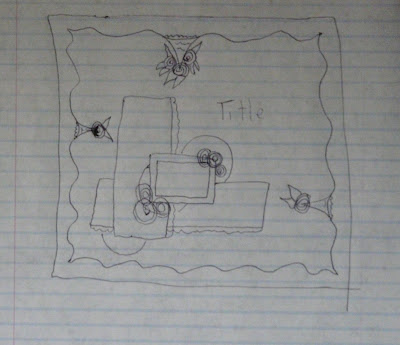
Start with a 12x12 pieces of cardstock for the base. Select 2 coordinating pages of pattern paper. Cut the 1st paper into various strips, one 6 x 11 ½ and two 3 x 11 ½ position the 3” strips along the top and bottom of the page. Cut the second page in strips as well one 8 x 12 and a 4 x 12, layer the 8” in the center of the page followed by the 6” and the 4” strips until pleased with the base. Add trim along the top and bottom of the center strip. Mat a 4x6 photo as well as 2 wallet size photos using the second sheet of cardstock and arrange on the page as shown. Layer 3 tags under the third layer and add a journaling spot under the tags then stamp the title/sentiment on the journaling spot. I created the flowers using some scraps of cardstock; I used a dark and light pink, beige and gold cardstocks. Stamped 2 large and 2 small flowers on each and cut using the coordinating dies, ink all the petal edges pink and snip between each petal. Crease and fold back each petal add brown glitter to the centers of the small flowers and layer alternating colour cardstock. Stamp 18 leaves crumple and arrange as shown on the layout. Finish of the page with crystal flourishes and a resin bird bath.
And here is a close up of the gorgeous blooms on this page...
Well hope you'll stop by next week to see all the gorgeous projects! I promise you will NOT be disappointed!! Happy New Years, Warm wishes and all the best.


